Let me show you how it's done.

Let me show you how it's done.
Every child is an artist. The problem is how to remain an artist once we grow up. ~Pablo Picasso

Friday, September 9, 2011

Step 1: Background, part 1


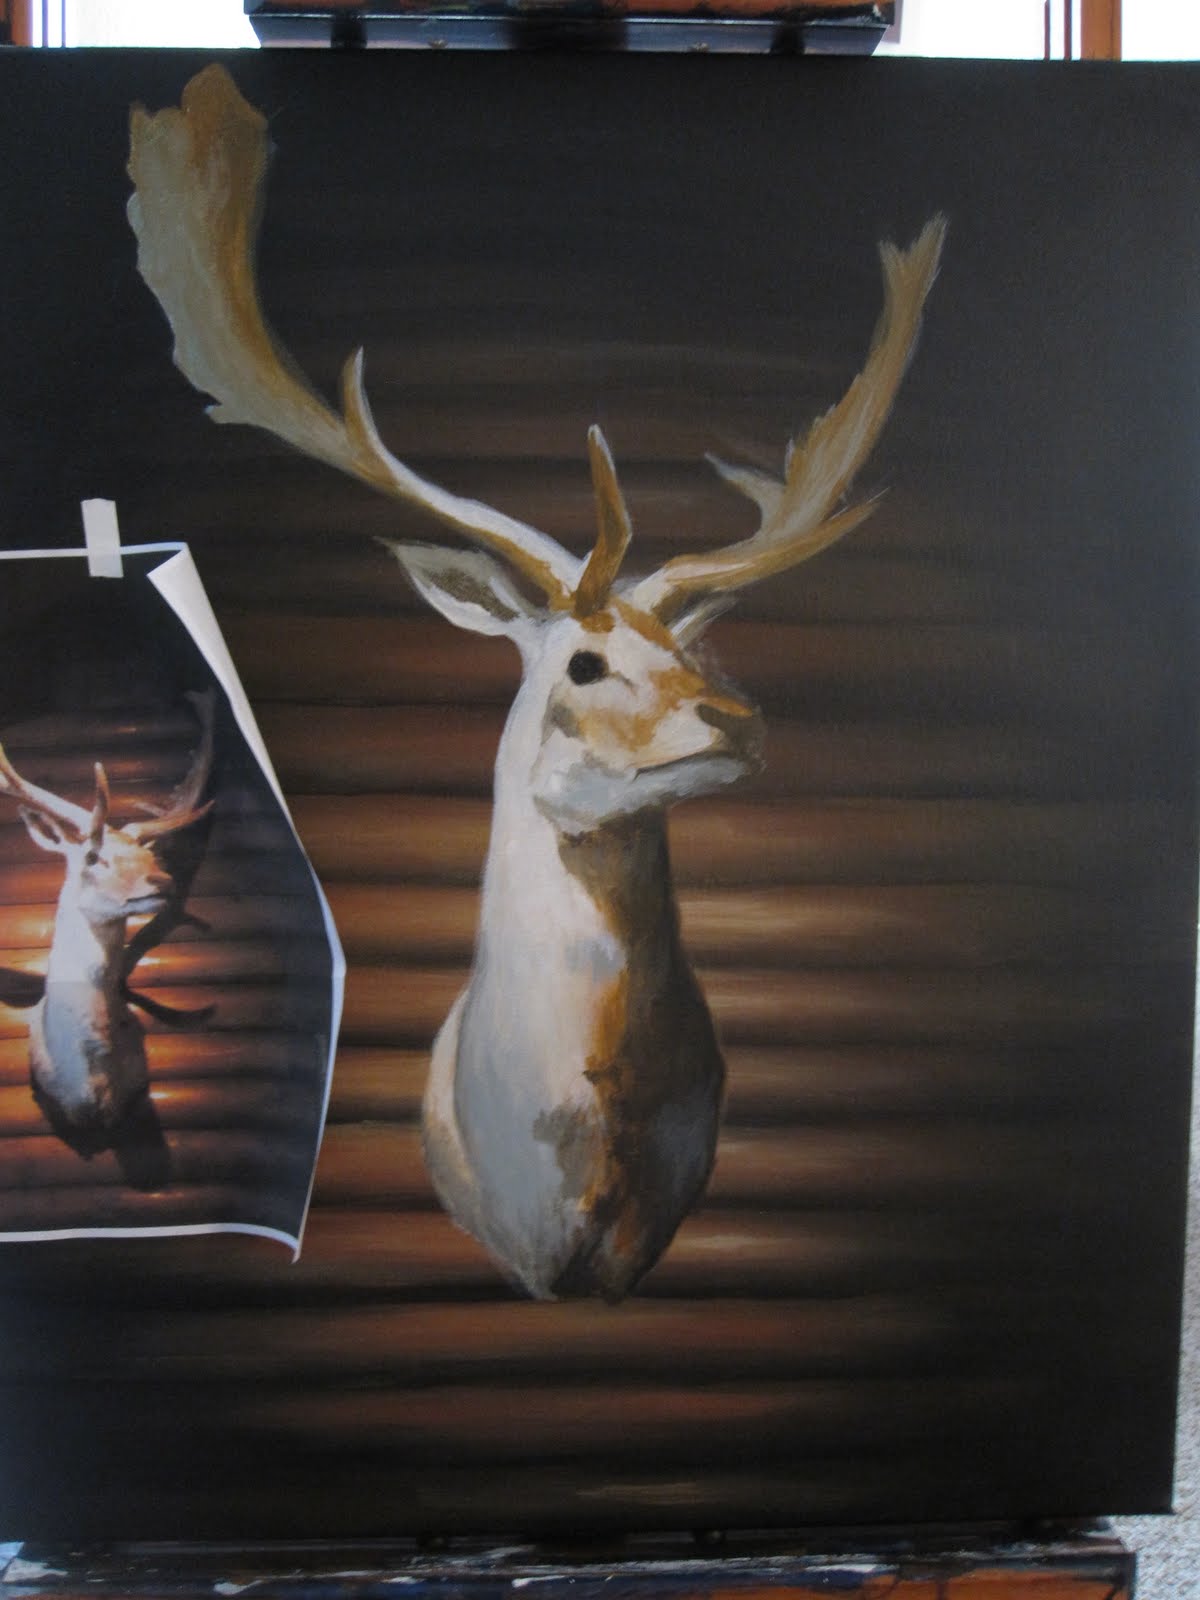
The general color of the gradient fade of the logs are used. Here, there are 3 layers of this strategy applied to get a good, solid layer. The object is to get rid of loose, painterly brush strokes.

Step 2: Background, part 2


This section can easily be compared to mapping and drawing. I'm actually eyeballing even space. A very precise way of doing this would be to measure the space evenly. I did use a ruler to give me straight lines.

Step 3: Background, part 3


The lighter colors, the highlights, help give a relief. Relief is used in this way to mean, height or suspension. It is a term mostly used in sculpting. Different thicknesses and transparencies are used to create this look.

Step 4: Drawing


A smaller round brush was used to make out the proportions and dimensions of the head. Painting and drawing go hand in hand.

Step 5: White


So, now we are reverting back to canvas, creating a "new" canvas. Anytime white is applied, it's considered reverting back to canvas. This is another time as well where drawing comes into play. It takes a good, keen eye to capture form and shape. The type of brush you use also plays a role in the shape of the strokes. I usually like to use square tips for filling in and round for everything else, like drawing.

Step 6: Color


Not too much color is needed given the reference but, there are several shades of brown, earth tones, are a key element in making this 3-dimensional. Note how the blending is different on the horns versus the hair.

Step 7: Shading and details


You can see that the horns have been enhanced with fleshy shading. When you shade, the color doesn't have to always be a shade of black. As long as the value of the over-all color is darker. The general shape of the eye has been added also.

Step 8: Finishing the Head


Small little details have been aded to finish up the head. The eyes received a glimmer, using the smallest amount of white paint. Blue has been added to the body and the horns as a reflected, cooler light, opposite of all the warm colors we see. The nose has been added to and then, the finishing touch was the Shadow being casted on the wall, using a very watered down black. Solid black wouldn't work. Even as a shadow, we should still be able to see what the shadow is being casted on.

Step 9: The Hands, part 1


The hands are done in white, first. Here, we get the proportion and the basic shape.

Step 10: The Hands, part 2


This is where we overlap the white with a base skin color. Since the white is down, we can paint this layer as if it's on fresh canvas. Starting with a base color and letting it dry before applying the shading and highlighting works best for me. That base color will be used again to create gradients.

Step 11: The Hands, part 3


Here, the shading and the highlighting was applied to the hands. The light casing down from above was perfect from the picture I took. Most often times, it ends up being easier to go out and shoot the reference, yourself, rather than hunting online from stock photography or whatever.

Step 12: DOD and Gun


Here the gun and the Day of the Dead makeup has been added. The perfect image for that specific gun was found by going to a gun store, Retting, and asking kindly to take pictures of their merchandise. The lighting in the photo wasn't the same as what I needed for here but, that's when knowledge of highlighting and shadowing certain shapes come into play.

Step 13: Drip


And the finishing touches are the drips. I chose the color red because it felt appropriate given the kill of the beast.