Let me show you how it's done.

Let me show you how it's done.
Every child is an artist. The problem is how to remain an artist once we grow up. ~Pablo Picasso
Showing posts with label painting. Show all posts

Monday, October 24, 2011

Step 13: creating the zombie


So, quite a bit has been done. The main thing to walk away with is that I had to refer back to canvas which is why I had to paint a white layer underneath her. White was also used as the finishing touches for this session.

Tuesday, August 16, 2011

Step 1: White


After the background is done, White paint is applied, in order to refer back to canvas and to make the other colors on top solid.

Step 6: finishing touches


So, the only thing that was added was gold splatter to the background. I needed to put a mask on top of the actual skull to protect it.

Wednesday, August 3, 2011

Step 2: Drawing


Drawing is done with white paint to figure out where things generally go. Loose, swift strokes help through the process.

Tuesday, July 19, 2011

Step 2


The Background: This was done using a layer of black, not totally covering the shape of the bullet. A layer of splatter was also added, reserving the space for the bullet, as well. This splatter technique was done with more action, using the motion of throwing a ball with the paint brush.

Step 3


Painting the bullet on the board: this required a good reference with a little bit of alteration. the only thing really changed was the perspective and angles of the bullet. The lighting and shading was perfect. This started by using a layer of white paint to make the layer solid.

Step 4


A mask need to be placed on top of the bullet to protect it from the white paint that will be splattered as the finishing touch. I wanted to add another element of "light" and "speed" and "smoke."

Step 5


After taking off the mask, we now have added "light" to the "smoke" and the "speed" of our bullet.

Friday, July 8, 2011

Contact Me

www.melanymezadierks.com

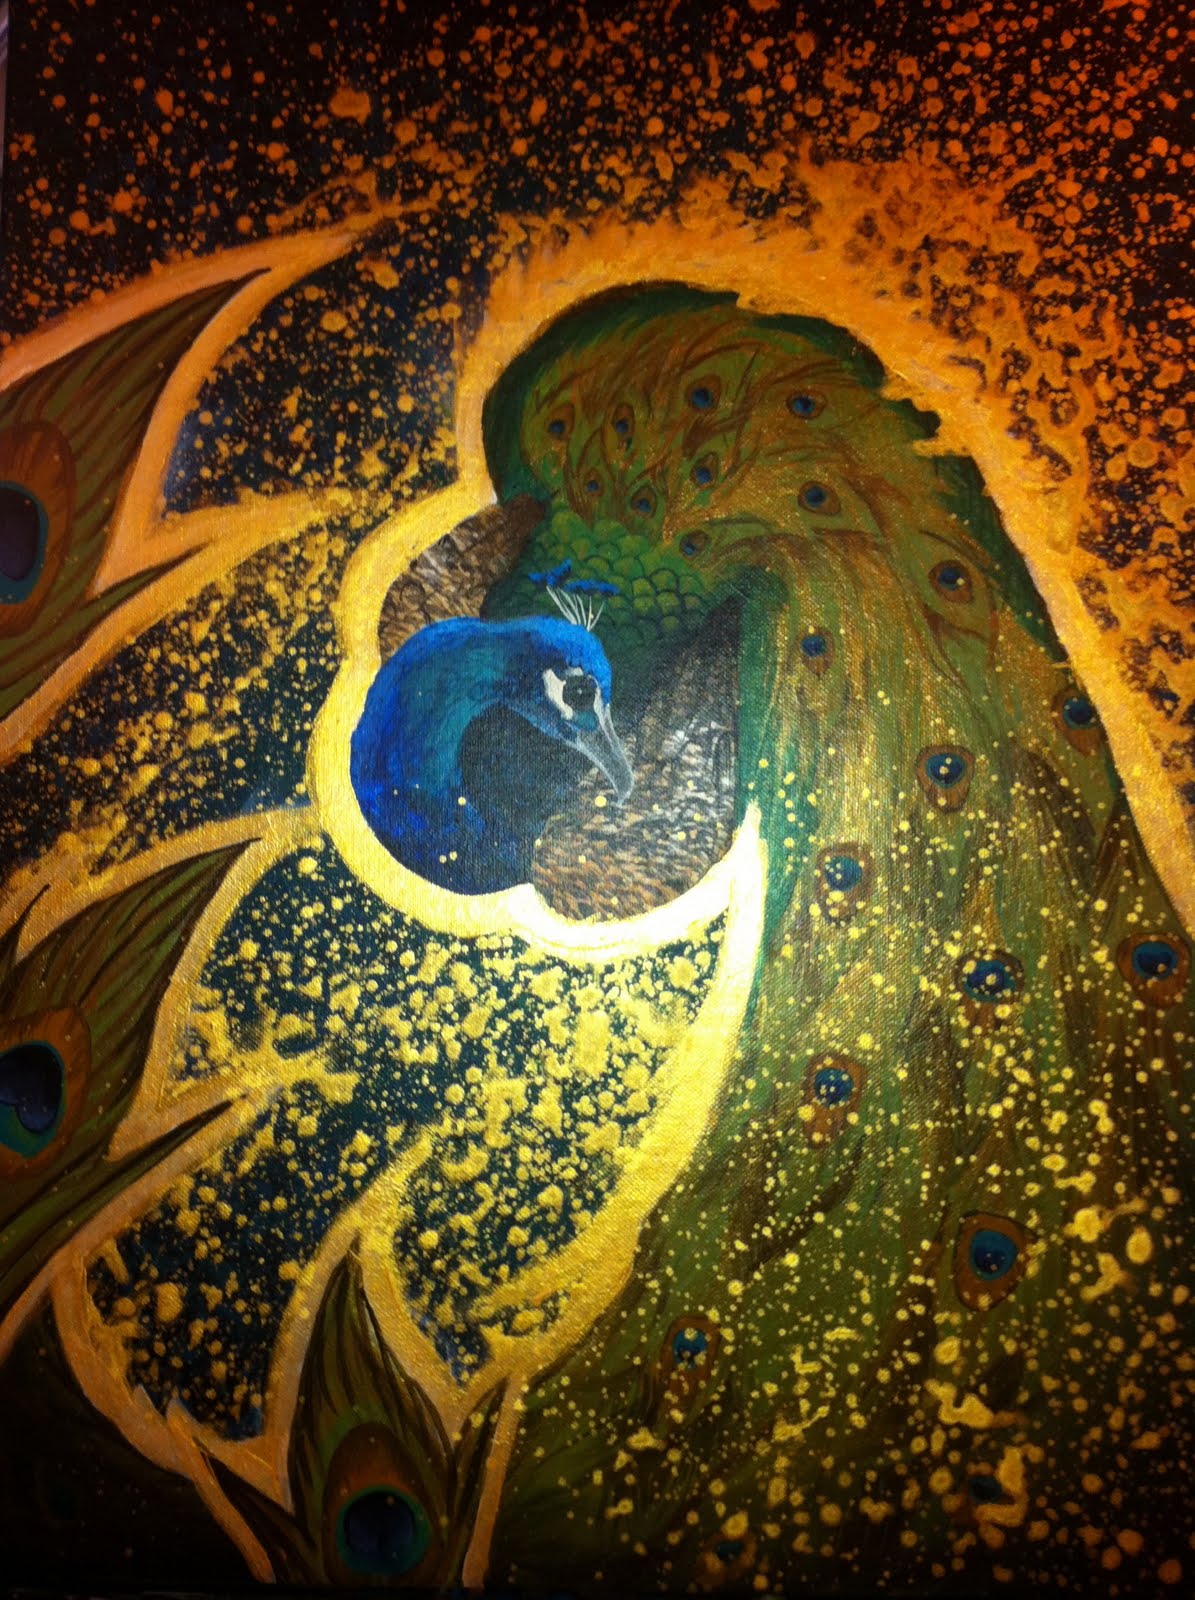
Step 1: White Paint


The first thing that was done was the background. After the background dried, white paint was used to paint the entire image of the peacock. White paint is used to refer back to the canvas. It is an opaque color, as opposed to the primary colors. When you place other colors on top of the white paint, it helps that layer be more distinguished from the others. In this image, paint has been added to the head of the peacock (on top of the white).

Step 3: Color Correction


One of the things that I want everyone to realize is that you are not always going to hit "perfection" the first time. You will always find yourself modifying and correcting. Painting is fun and relaxing but, it can also be frustrating at times. In this image, I am building the base color of what I want the feathers to be before I go into the detail.

Step 4: Shaping with Darks


In this image, the image is being sculpted using darks, subtle darks. The forward feathers begin to come to life as well as the feathers that take up most of the composition. Notice that there are no outlines, only shading (when it comes to the feathers). Details include shading as well as the "eyes" of the feathers.

Step 5: Details


Finishing touches are in the detail. In this case, it was creating the feathers to be more realistic and adding the splatter of gold. In many cases, you have to know when to walk away from a piece. You can render all you want but, in most cases, enough is enough and as an artist you have to know when you've got enough "ingredients". Adding more gold to the outline contributed to the finishing touches.